2013 AHA Competition

I don’t know why I never know about these competitions.  Every year I want to do one, but every I have nothing ready for ones.  Maybe you guys have something ready for it; not so much for me.  Honestly I need to find a website that has national as well as local competition’s so I can keep up to date.  There is plenty of time to still register for it.  Next year I’ll be on top of so I can give plenty of warning.  Click here for all the details.


If you are thinking about it, I would go ahead and go for it honestly.  It’s a great way to get better at the hobby, you’ll get some feedback and who knows – you could win who knows!


Related Post

English Style Beer Recipe

Summer Time Beer Recipe

Summer Wheat

How To Make A Starter


Jays Brewing Logo

English Pale Ale Recipe

A nice pale ale is always appreciated.  What I like about Pale Ale’s are that they are so easy to drink and most of the time you even non, “Craft beer lovers”, still like them.  This one isn’t too hoppy and just leaves you with something that is refreshing.  If you make this beer now, it will be ready to drink towards the end of March.  What that means is it is a perfect beer to gateway you into Spring.

Having some aromatic malt in it is going to give a malty nose to the beer.  The crystal malt is of course going to give it some sweetness as well as some color.  The hop profile is is well balanced giving you bittering, flavor, and aroma.  All around it’s a well balanced beer.

G.B

Ingredients

9 oz 60L crystal Malt

6 oz Belgium Aromatic

7 lbs Extra Light Liquid Malt Extract

8 oz Malto Dextrin

1 oz Fuggles (60min)

1 oz Willamette (60min)

1/3 oz Perle (15 min)

1/3 oz Hallertau (15min)

1/3 Cascade (1min)

1/3 Fuggle (1min)

WLP 013


Specifications

OG: 1.055

FG: 1.015

IBU: 32

SRM: 11

ABV: 5%

Directions 

  • Heat 2.5 gallons of water up to 150
  • Turn off heat, and steep grains for 30 min
  • Take grains out
  • Add in malt extract and malto dextrin
  • Bring to boil
  • Add 1 oz Fuggles, and 1 oz Willamette
  • Boil for 45 minutues
  • Add Perle and Hallertau hops
  • Boil for 14 minutes
  • Add Cascade and Fuggles
  • Boil for 1 minute
  • End boil
  • Cool down, put in fermenter, fill up to 5 gallons
  • Pitch yeast
  • Ferment for 7 days
  • Then bottle with .75 cup of corn sugar
  • Drink after 3 weeks in the bottle.

Related Post

Robust Porter Recipe

Extra Stout Recipe

How To Make Your Own Recipe

Lagering Guide

Jays Brewing Logo

Dry Ginger Wine Recipe

This wine is very much like ginger ale.  It is a white wine that has a bit of spice as well as some sweetness from the banana’s.  This type of of wine is really good for spring and summer.  One of those that I’m sure you will never forget.

banana

Ingredients

3 ounces of whole ginger root

1 cup white grape juice concentrate

1.5 lbs of banana

1 package wine yeast

1 teaspoon pectic enzyme

1 teaspoon yeast nutrient

1.5 cup orange juice

2 lbs sugar

Directions

  • Break ginger root into pieces and mix the pieces with grape juice concentrate 
  • Put into a 2 gallon plastic container
  • Add 2 quarts of boiling water
  • Peel bananas and force them through a strainer
  • Add to the ginger mixture and cook
  • Add wine yeast, pectic enzyme, yeast nutrient, and orange juice
  • Add sugar and enough water to make 1 gallon
  • Let ferment
  • After 10 days switch over to 1 gallon fermenter
  • Fill with water 2 make 1 gallon
  • Ferment for 3 months
  • Rack necessary to clear
  • When fermentation is complete bottle
  • Celar wine and let it sit for about 6 months

Jays Brewing Logo

Trick To Get Painted Labels Off Bottles

See an empty bottle and think, “Wait don’t throw that out, I can use that for my homebrew!”, welcome to the world of homerbewing.  When homebrewing you can reuse bottles that are pop top for bottling your own beer.  So that really means going out and buying some craft beer is just an, “investment” into the hobby because you can keep your beer bottles that you drank.

Sometimes though you want to make your beer bottles look like they are uniformed, you don’t want to see the old labels.  Paper labels are easy enough to take off, soak them in some PBW and just go to town on them. Also make sure that the water being used is very hot – it makes life a lot easier.  The real question is how do you get off painted labels off.   You know, the type where the label is directly painted onto the bottle.  An example of this would be, “Stone – Arrogant Bastard”.

steel wool

The way to take off the paint so it doesn’t look like you are drinking a stone beer is, take a normal concentration of StarSan and water (1 oz of Starsan to 5 gallons of water), and put your bottle in a bucket of that.  Let the bottle sit overnight, then most of the time you can just use the back-end of a kitchen scrubber   Some people have claimed that a paper towel can be used and just wipe it off, others say that you need, “steel wool” in order to really get it off.  Either way, it’s gonna come off.  Honestly it’s just that easy: 1) Put beer bottle in bucket 2) Add normal concentration of water and StarSan 3) Let it sit over night 4) Scrub.

scrubber

This is a nice way to get the bottle labels off with minimal effort.  Yes of course you could just tell your friends, “No, that’s not Arrogant Bastard – it’s a stout I made”, but this trick is one if you want to bring your presentation up to the next level.   This trick can be especially useful for those that are part of a homebrew club and need to put a label on their beer bottle, or just someone who gets a lot of their beer bottles from their other hobby, drinking craft beer.

If you have other tips on how to take off labels leave it in the comment section below and as always,

Cheers,


Related Post

How To Culture Yeast From A Bottle

How To Make A Starter

How To Freeze Yeast

ESB Recipe
Jays Brewing Logo

Top Beers Of 2012 – I Know I’m Late

We did a post a while back on how to keep your inspiration regarding brewing your own beer.  One of the ways that I’ve found a lot of inspiration for my own home brewing is to go and try some different beers out.  It’s also just fun to be a critic of different micro beers.

brewery2

You might find that you like some things that different breweries do, or you may hate somethings.  But don’t stop there, make sure to find the recipes and see what type of grains and hops that they use.  Sometimes  it’s as easy as just going to their website and they will have it listed.  Other times you can e-mail the head brewer, explain that you are a homebrewer and you are interested in their recipe.  Make sure to send them a recipe of what you think their beer is to show that you’ve put in some effort.  A lot of times these guys started off as homebrewers themselves and are pretty helpful to fellow homebrewers.

life of a homebrewer

It’s pretty easy to find clones on the internet, that’s what’s cool about the homebrewing community – we share all knowledge.  Just type in, “_______ clone recipe”,  I’m sure you’ll find lots of results.  Normally it’s hard to get the perfect clone but it does give an excellent template to work with.  So with out further delay, here is the list of top beers for 2012 to make sure you try them out.  The full list can be found at the AHA website.  If you know of, or recommend any brew that are not on the list that is a must try let us know!

Top-Ranked Beers

For 2012, we have a four-peat! Russian River’s Pliny the Elder, a double IPA, claimed the top spot for the fourth straight year. Finishing second for the third straight year was Bell’s Two Hearted Ale, an IPA. (T indicates tie)

 1. Russian River Pliny the Elder
 2. Bell’s Two Hearted Ale
 3. Dogfish Head 90 Minute IPA
 4. Sierra Nevada Pale Ale
 5. Stone Arrogant Bastard Ale
 6. Bell’s Hopslam
7. Sierra Nevada Celebration
8. Stone Ruination IPA
 9. Sierra Nevada Torpedo
 10. North Coast Old Rasputin
 11. Firestone Walker Union Jack
 12. Sierra Nevada Ruthless Rye
 13. Bear Republic Racer 5
 14. Oskar Blues Dale’s Pale Ale
 15. Dogfish Head 60 Minute IPA
 16. Firestone Walker Double Jack
 T17. Ballast Point Sculpin IPA
 T17. Sierra Nevada Bigfoot
 19. Stone IPA
 20. New Belgium Fat Tire
 21. Deschutes Black Butte Porter
 22. Avery Maharaja
 23. Founders Breakfast Stout
 24. Left Hand Milk Stout
 T25. Dogfish Head 120 Minute IPA
 T25. New Belgium Ranger
 T25. Stone Sublimely Self-Righteous Ale
 28. Deschutes The Abyss
 29. Goose Island Bourbon County Stout
 30. Surly Furious
 T31. Lagunitas Little Sumpin Sumpin
 T31. Rogue Dead Guy
 T31. Samuel Adams Boston Lager
34. Troegs Nugget Nectar
 T35. Lagunitas IPA
 T35. New Belgium La Folie
 T37. Dogfish Head Palo Santo Marron
 T37. Founders KBS
 T37. Russian River Blind Pig IPA40. Green Flash West Coast IPA
 41. Deschutes Mirror Pond Pale Ale
 42. Victory Prima Pils
43. Great Divide Yeti
 T44. Alaskan Smoked Porter
 T44. Anchor Steam
 T44. Lagunitas Hop Stoopid
 T44. Samuel Adams Noble Pils
 T48. Great Lakes Edmund Fitzgerald Porter
 T48. Oskar Blues Ten Fidy
 T48. Russian River Pliny the Younger

Related Post

Different Ways To Stay Inspired With Homebrewing

How To Make Your IPA Different

Maple Syrup Wheat

New Castle Clone

Crazy Smoked Porter Recipe

Jays Brewing Logo

Beet Wine Recipe

Vegetable wine is always a weird one to make.  Usually when you say something like, “Ya, you are drinking beet wine” most people will raise an eyebrow.   The only reason why I started to make this one is because I grow beets in my garden.  I usually get so many that I don’t know what to do with them.  I mean honestly there are only so many days where I can make, “Beet Soup” and still have a smile on my face (even though it’s my favorite soup – no lie).  Either way, this wine is one that is  red in color and not too dry.  A really good one if you are a beet fan.

beet

Yield 1 Gallon

Ingredients

3 lbs Beets with green part removed

12 oz Orange juice concentrate

2 pounds white sugar

1 pound honey

1 cinnamon stick

1/4 teaspoon ground nutmeg

2 teaspoons fresh orange zest

1 package montrachet wine yeast

1 teaspoon pectic enzyme

1 teaspoon yeast nutrient

1/4 teaspoon tannin

Directions

  • Wash beets and put them in a large pot
  • Cover beets with water and simmer on low heat until the beets are tender and soften up
  • Remove beets from liquid
  • Add orange juice concentrate, sugar, honey and spices to liquid
  • Bring to boil
  • After boil has been reached, simmer for about 10-15 minutes
  • Crush the beats into a paste and put them back into the liquid
  • Add the orange zest and transfer into a 2 gallon fermenter
  • Add water and bring up to volume of 1 gallon
  • Add, enzyme, yeast nutrient, yeast, and tannin
  • Let it ferment for about 5 days
  • Rack into 1 gallon container
  • Fill up to 1 gallon.
  • Let mixture ferment for 3 months
  • Rack if it’s needs clearing
  • If not, bottle, and let sit for 6 months


Related Post

Apple Jack Recipe

Pineapple Wine Recipe

Ginger Mead Recipe

Barley Wine Tasting

Jays Brewing Logo

3rd Annual Barley Wine Festival Coming Up

Barley Wines are a pretty cool beer to have.  Quickly they are turning into one of my favorite winter time beers to drink.  If you have not had one before, I highly suggest that you go and buy one while it is still the season to be drinking them.

Also if you live the D.C Metro area, there is a tasting that is coming up pretty soon.  So I thought I would give a heads up about it.  There is a tasting that is happening over at Madfox coming up.  Click here for the details.

Until then, stay warm with some Barley Wines!

Cheers,

Derek

Related Post

Barley Wine Recipe

Brewing Calendar

Too Many IPA’s 

Jays Brewing Logo

The World Of ESB – An Easy Recipe

A great beer to have on tap is an ESB. So what is an ESB?  ESB stands for Extra Special Bitter.  It’s a British style beer and one that is very much like our Pale Ale.  A normal Bitter is about 3.8%, the extra special ones are  above 4.8%.  This particular one is 5.7%.  ESB are pretty easy beers to drink.

Notes On This Beer Recipe

This beer is going to have a caramel undertone to it.  This is because it has crystal malt in the recipe.  Being that it has 60L it is going to give it bit of color.   The malt extract is six pounds of dry malt extract, it’s pretty standard for most pale ales.  Being that it is six pounds, it will give a nice malt back bone and also give the beer a higher ABV compared to a standard bitter. The hops in this beer are not too high in alpha acid, this allows for a well-rounded hop flavor and aroma (again, very much like a Pale Ale). The after taste is one that is going to be malt forward but well-balanced.   This is just a beer that is easy to drink no matter what time of year it is, and one that is pretty easy to share with friends and family. Really at the end this isn’t fancy beer, but there is beauty in simplicity

Chilling Hard

Ingredients

13 oz 60L crystal Malt

6 lbs Malt Extract Light (DME)

2 oz Tettnanger (60min)

1/2 oz Willamette (15min)

1 oz Tettnanger (10min)

WLP 001

Specifications

OG:  1.056

FG: 1.013

IBU: 37

SRM: 13

ABV: 5.4%

Yield 5 Gallons

Directions

  • Heat 2.5 gallons of water to 150
  • Steep grains for 30 minutes
  • Take grains out
  • Add malt extract in
  • Bring to boil
  • Add 2 oz Tettnanger Hops
  • Boil for 45 minutes
  • Add Willamette Hops
  • Boil for 5 minutes
  • Add 1 ounce of Tettnanger hips
  • Boil for 10 minutes
  • End boil
  • Cool down, put in fermenter and pitch yeast
  • Let it ferment for 7 days
  • Put in bottles with 3/4 cup of corn sugar
  • Let it sit for 21 days
  • DRINK

If you are looking to do it all grain, I would use the M.O for the base malt.  It will give it a bit more flavor.  Then again, if you wanted to just make a cheap beer for the summer time, you can use just regular 2-Row and it would work as well

Enjoy

Related Post

Colonial Beer

Conversion Chart

Base Malt Guide

Robust Porter

Apple Jack

Grow Your Own Hops

St. Pat’s Beer Recipe

Jays Brewing Logo

How To Freeze Yeast And Save Money!

You can freeze yeast?  You bet you can! This post really goes with the conjunction of the how to make starters post we did last week.   Harvesting, and freezing yeast is simply a great way to save money on brewing beer which only means one thing – you can brew more beer.   This post is my attempt in breaking down how to actually freeze your yeast so you can use it again in the future.

money

Why Would You Want To Freeze Your Yeast?

The reason why you would want to freeze your yeast is that you are saving about $7 for every tube that you pull out of the freezer.  That means you can buy more ingredients and make more beer! This method is really meant to make 50-200 billion cells.  With frozen vials of yeast, you would want to make a starter for them to ensure that you got a good fermentation (or double pitch).

Some General Supplies That You Are Going To Need

  • A large amount of yeast that you are going to want to save in the future – this will be made with a starter
  • Some tubes that you can keep your yeast in.  The best are the white labs tubes.  If you don’t have any you can always just buy the tubes online as well.
  • A holder for the tubes
  • Glycerin, food grade.
  • Rubbing alcohol
  • Sanitized Water
  • Cold Pack

Cold As Ice

How Do You Freeze Yeast?

*Read All Instructions Before You Start 

  1. Collect yeast by chilling a culture that you made before with our amazing yeast starter guide. – It goes into details about how to separate the wort and yeast at the end of that post.
  2. Pour off the wort leaving enough to just allow the yeast to be suspended in a dense mixture (aka slurry).
  3. A quart starter can usually be reduced to 1/40th the volume giving you 100 billion cells in 25 millimeters (1.5 tablespoons of yeast per baby test tube)
  4. Sanitize the outside of the test tubes with rubbing alcohol
  5. Take 1.5 tablespoons of yeast and put into the baby soda bottles aka white labs yeast containers (they are listed in the supplies above)
  6. Add an equal amount of glycerol to each of the vials (make sure the glycerol is at a 1:5 ratio with sanitized water)
  7. Cap the tube and swirl without making it frothy.
  8. Now fill up the remainder with 10% glycerin mixture
  9. Make sure there is enough room for expansion because it is going to freeze
  10. Put test tubes in test tube holder
  11. Take gel packs and surround the yeast packages with them.
  12. The gel packs will slow down the process of the freezing for the yeast
  13. Gel packs will help prevent the yeast thawing when the freezer cycles
  14. When you plan on using the yeast, take them out of the freezer
  15. Soak them in water that is about 100 degree’s.  Swirl until the yeast has thawed out
  16. Remove the tube from the water, make a starter and pitch yeast into starter

beer head

Conclusion

I know this can be confusing as you read this and may seem a bit overwhelming or intimating  but if I can do it – you can do it.  If you have any questions just let me know.  There are some other methods to freezing yeast which I have used in the past, but this method is one that gives me pretty good results every time I use it.

Personal Note:  The way to think about doing this is just make a really bit starter, or a few big starters and then freeze the yeast out of that.  It doesn’t make sense to do this with every type of yeast that you use but ones you know you are going to use a lot.  WLP 001 is classic as well as 1056.   I usually will only freeze yeast for about a year.  I don’t like going over that.  In the summer time if you like wheats and know you are going to make a hand full of wheats starting from April – August freeze your wheat yeast, same goes with stouts using 004 for the fall and winter or 001 for year round, I’m sure you get the picture.

If you have any tips on how to do this or would like to share your method, please let us know in the comment section below!  Cheers!


Related Post

How To Build Stir Plate

How To Make Starter

Pineapple Wine

Newcastle Cone

Jays Brewing Logo

Growing Hops In Your Yard – Some General Points

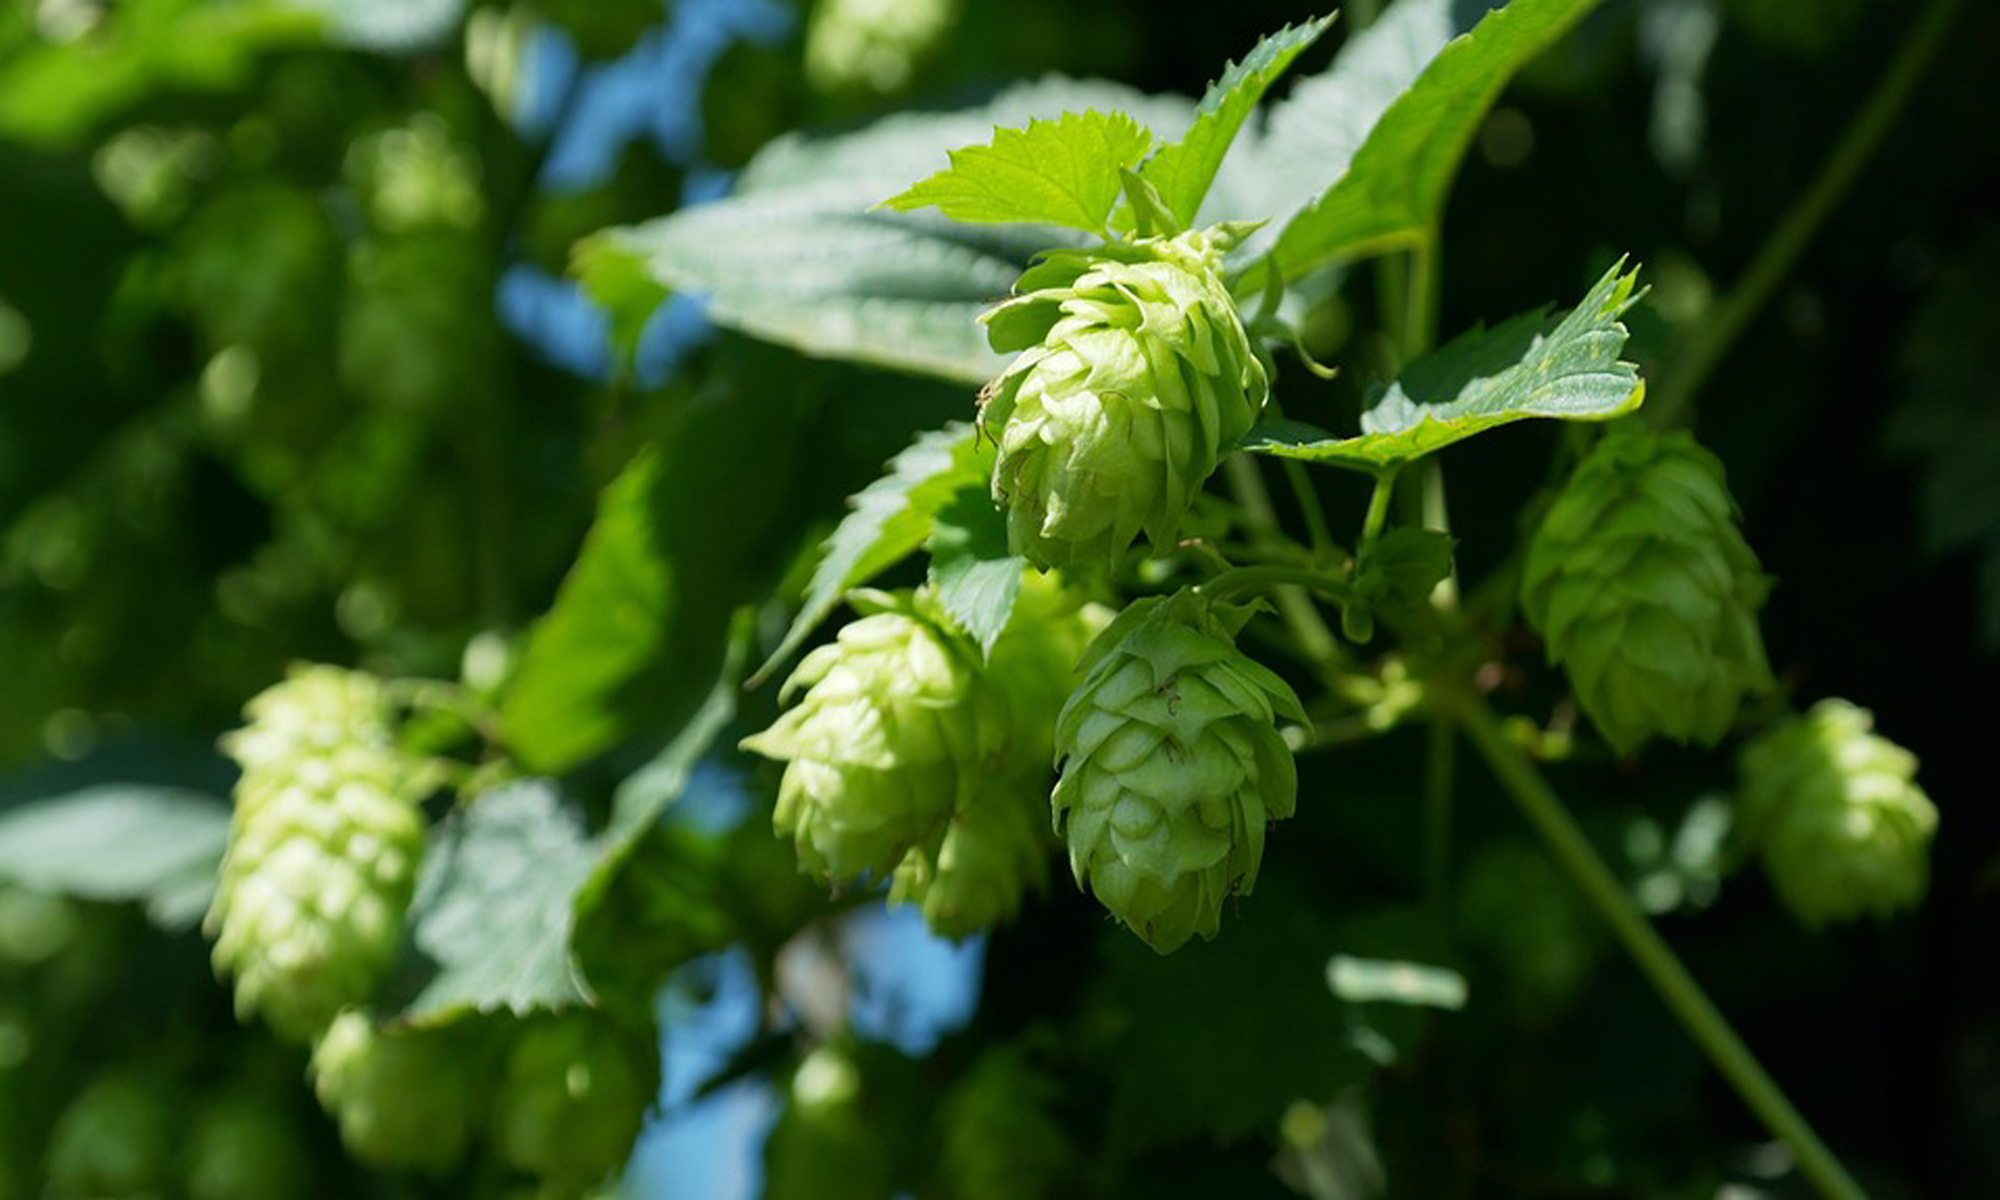
If you are interested in growing your own hops this year, it’s time to start looking for them.  Here is a short article on growing your own hops which may prove to be useful.  I have grown hops every year for some time now.  They are honestly pretty easy to grow and a fun way to combine two of my hobbies (gardening and homebrewing)

I don’t expect to save any money with them or anything like that but, it is fun to make a seasonal beer with wet hops.  Keep in mind, 4 ounces of wet hops are the same as 1 ounce of dry hops.  Normally with any of my wet hops which I grow, I just end up dry hopping with them so I get an aroma.  It turns into my, “Summer Beer Special” or my very own seasonal beer.  The reason I do that is because I just don’t expect a lot out of my hops.  I also don’t know the actual alpha acid so I figure just using them as aroma is a special treat.


hops


I’ve found in the past the hops that work the best in this area tend to have higher alpha acids (Cascade grows like a weed here). I put my hops in a pot when I grow them.   After they start to sprout I take a string and tie it to an anchor of some sort, the hops just grow up the string.  But the reason why I put them in a pot is I don’t want the shoots to get break off and end up getting hops all over the yard.   I’m not sure if that is possible but I know it happens with horseradish which I grow too.  Just a friendly suggestion.

Enjoy, and if you are looking for a source to buy hops to grow, this is a good one!  If you have any pointers or tips for growing hops, please share.

Related Post

How To Build Randal

Summer Time Wheat

Summer Time Blonde Ale 

How To Build Stir Plate

Jays Brewing Logo